Blocks and modulation
A tour of the built-in block library, plus LFOs, envelopes, and how to make any knob move.
For patch builders who want to know every tool in the box.
Blocks are the building material of every patch. This page lists what ships with Patchwerk and shows how to bring patches to life with modulation.
The block library
Open the block palette with the Browse blocks button in the DSP tab's floating toolbar. Blocks are grouped into categories:
Sources
| Block | What it does |
|---|---|
| Oscillator | Classic waveform oscillator — the starting point for most synths |
| Wavetable | Wavetable oscillator; load or generate tables from the Assets panel |
| Sampler | Plays a sample pitched across the keyboard |
| Sample Player | Triggers a sample on each note |
| Noise | White-noise source for percussion, texture, and breath |
| Sequencer | Built-in step sequencer that generates notes |
| MIDI In | Brings raw MIDI into the graph |
| MIDI Player | Plays back a MIDI melody on loop |
| Input / Output | Your plugin's audio input and output — the Output block includes a level meter and gain |
| Sidechain In | A second audio source for keying a Compressor or Noise Gate — Live input or a looped File; see "Sidechain routing" below |
Processing
| Block | What it does |
|---|---|
| Filter | Multi-mode filter with cutoff and resonance |
| Ladder | Ladder-style filter with a classic analog character |
| Crossover | Splits a signal into Low/Mid/High bands with steep (LR4) filters — 2-way or 3-way |
| Gain / VCA | Level control; the VCA is built for being modulated |
| Mixer / Sum 4 | Combine several signals into one |
| Panner | Stereo placement |
| Mid/Side | Encode/decode Mid-Side or just adjust stereo Width — one block, three modes |
| Compressor | Dynamics control — an SC port plus SC On / SC Listen let it duck from a different signal instead of its own input |
| Noise Gate | Expander-style gate with hold and hysteresis to stop chatter on the way out; an optional SC port lets it key off another signal |
| DC Blocker | Strips subsonic DC offset — cheap insurance before feedback-heavy blocks like Comb or long delays |
| Distortion / Drive / Wavefolder | Three flavors of saturation, from gentle warmth to folded mayhem |
| Combine / Split / PolyMix | Utilities for moving between per-voice and global signal paths |
| Constant | Outputs a fixed value (−10..10) — a mod-to-audio bridge for feeding a knob's worth of signal into the graph |
| Scale/Offset | out = in × scale + offset — the everyday signal conditioner for mod shaping and unit conversion |
| Multiply | out = in1 × in2 — ring-mod/VCA-style multiplication of two signals |
| Min/Max | Outputs the per-sample minimum or maximum of two inputs |
| Clip | Hard or soft (tanh) clipping at an adjustable level |
| Expr | Free-form math over up to four inputs and four knob params — see "The Expr block" below |
Effects
| Block | What it does |
|---|---|
| Delay / Stereo Delay / BBD Delay | Echoes — clean, wide, or dark and tape-like |
| Chorus / Phaser / Tremolo | Classic modulation effects |
| Flanger | Modulated short delay with feedback — jet-plane sweeps and metallic resonance |
| Allpass | Shifts phase across frequency without changing the tone — stack 1-4 stages |
| Comb | Short feedback delay that rings at a pitch — tune it by ear or track incoming MIDI |
| Reverb | Space and depth |
| EQ 3 | Three-band tone shaping |
| Limiter | Keeps the output under control |
| Crusher | Bit-crushing and sample-rate reduction |
| RingMod | Ring modulation for metallic, bell-like tones |
| Pitch Shift | Grain-delay pitch shifter — semitones + fine tuning; see the quality note below |
| Freq Shift | Hilbert-based frequency shifter — inharmonic, bell-like motion instead of a musical pitch shift |
Display
| Block | What it does |
|---|---|
| Probe | Inspect any signal in the graph |
| FFT | Real-time spectrum display |
You can also ask the AI assistant to create a custom block when nothing in the library fits — it becomes part of your project like any other block.
The Expr block
The Expr block runs a small math expression over its inputs and knob params, once per sample. Reach for it when the other glue blocks don't quite fit — comparators, crossfades, custom curves, keytracking math.
Variables — in1..in4 (the four audio inputs), p1..p4 (the four knob params, each 0–1), pi, twopi, e (math constants), sr (the sample rate).
Operators — + - * / % (arithmetic; dividing or modulo-ing by zero returns 0 instead of crashing), ^ (power), < > <= >= == != (comparisons), && || ! (logic), ? : (ternary). Comparisons and logic produce 0 or 1 rather than true booleans — multiply a signal by a comparison to gate it, or use the ternary form to pick between two signals.
Functions — trig: sin cos tan asin acos atan atan2; hyperbolic: tanh; exponential/log: exp log log2 log10 pow sqrt; shaping: abs sign floor ceil round fract; range: min max clamp lerp (alias mix) step smoothstep wrap fold; pitch/gain: mtof ftom dbtoa atodb.
Worked examples
| Patch | Expression |
|---|---|
| Crossfader | lerp(in1, in2, p1) — blends from in1 to in2 as p1 sweeps 0→1 |
| Note-to-Hz conversion | mtof(in1 * 127) — treats in1 (0–1) as a MIDI note fraction and converts it to Hz, as an audio-rate value for blocks that take audio-rate inputs |
| Comparator gate | in1 > p1 ? 1 : 0 — outputs 1 when in1 exceeds the p1 threshold, else 0 |
Set the expression from the node's inspector, or ask the AI assistant to write one for you. Note: expr outputs are audio-rate — routing them into a knob's modulation (*Mod) input isn't supported yet.
DC Blocker, Mid/Side, Allpass, and Flanger
DC Blocker is a one-pole highpass tuned just above DC — it strips subsonic offset that feedback-heavy blocks (Comb, long delays) can otherwise accumulate. It's switchable poly/global; leave it poly unless you have a specific reason to run it once for the whole patch.
Mid/Side covers three jobs in one block: Enc mode splits a stereo signal into Mid and Side channels (so you can process them separately — EQ the mid, chorus the side, etc.), Dec mode folds Mid/Side back to Left/Right, and Width mode skips the split and just scales the side channel to narrow or widen the stereo image.
Allpass shifts phase across frequency without changing what you hear as tone — stack 1-4 stages for deeper phase smearing. It's useful on its own for subtle movement, and it's the building block phaser-style effects are made from.
Flanger is a short modulated delay with feedback: Rate and Depth set the sweep, Delay sets the base time (very short reads as metallic, longer drifts toward chorus territory), Feedback pushes it toward jet-flanging resonance, and Phase offsets the two channels' sweeps for stereo width.
Crossover: build your own multiband effect
Crossover splits a signal into Low/Mid/High bands (2-way skips Mid) with steep Linkwitz-Riley filters, so the bands sum back to a flat response when recombined. There's no dedicated multiband distortion or multiband compressor block yet — build one yourself: Crossover → a Drive/Distortion/Wavefolder (or Compressor) per band, tuned differently for each → Sum 4 back into one signal.
Comb: a poly Karplus-lite pluck
Comb is a short feedback delay tuned to ring at a pitch — feed it Noise and wire its pitch port from MIDI In and you get a plucked-string-ish tone that tracks the keyboard, the classic Karplus-Strong recipe done with stock blocks. Push feedback near the top (0.95-0.99) with low damping for a bright, sustained pluck; lower feedback and higher damping mute it into more of a thump. It's switchable poly/global — leave it poly (the default) so each note gets its own comb.
Pitch Shift and Freq Shift
Pitch Shift is a grain-delay shifter, not a formant-preserving (phase-vocoder) one — expect some graininess and phasey artifacts on complex or polyphonic material, especially at larger shifts. It does best on simple, mono-ish sources; Grain sets the window size trading latency/smearing against artifacts, and Mix blends shifted against dry.
Freq Shift moves every partial by a fixed number of Hz (a Hilbert-pair frequency shifter) instead of by a musical ratio, so harmonic content comes out inharmonic — clangy and bell-like rather than "in tune." Small shifts (a few Hz) give a phaser-like shimmer; large shifts turn tonal material metallic. Where Pitch Shift tries to preserve the note you played, Freq Shift deliberately doesn't.
Sidechain routing
Sidechain In gives a Compressor or Noise Gate something else to react to. Pick Live (the audio-input device — enable audio input in Settings first, or a Live sidechain hears nothing in the IDE) or File (loops whatever sample you drop into its slot — no input device needed). Wire its output into the target block's sidechain port, then turn on that block's SC On toggle; without SC On, the block still just reacts to its own input. Compressor also has SC Listen, which routes the sidechain signal itself to the output so you can hear exactly what's feeding the detector. Dropping a Sidechain In block runs the whole patch global (mono-voice), same as Input — it's an auxiliary input, not a per-voice signal. In an exported VST3/CLAP plugin, Sidechain In becomes a real auxiliary input bus that the DAW's own sidechain routing feeds; Live/File only matter inside the IDE.
Modulators
Modulators are signals that move your parameters over time. They live in the Modulators panel in the left sidebar — open it and click the add picker to create one. Each card shows its own controls and a live scope so you can see the signal move.
LFO
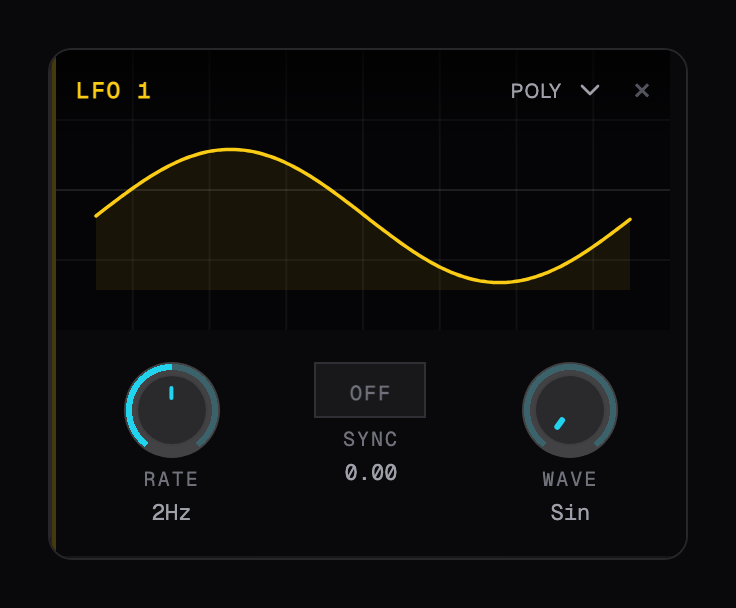
Cyclic movement: vibrato, wobble, slow sweeps. Pick a waveform, set the rate in Hz or sync it to your project tempo.
ADSR
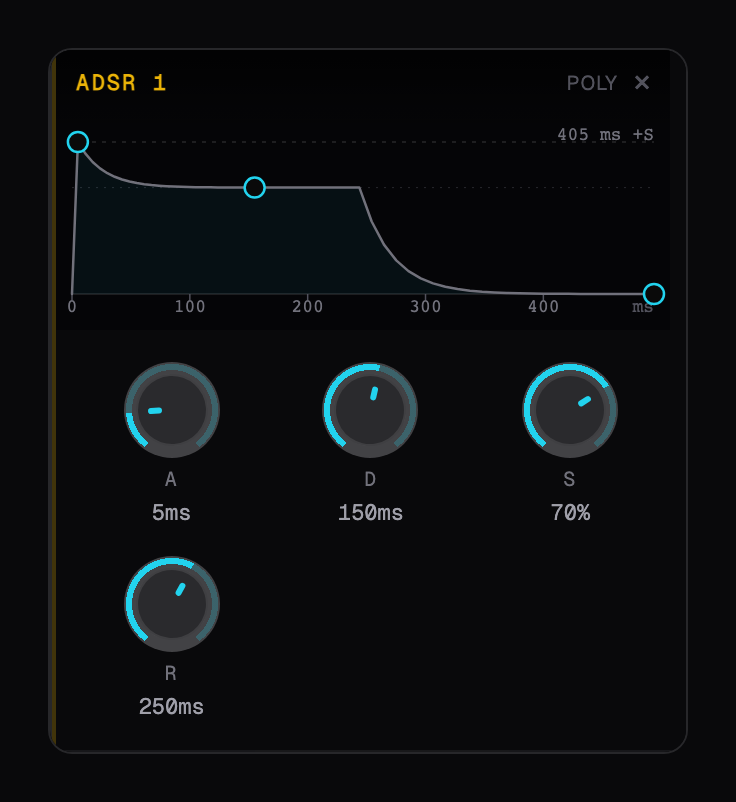
An envelope that follows each note — attack, decay, sustain, release. Drag the points on the curve or use the knobs.
Macro
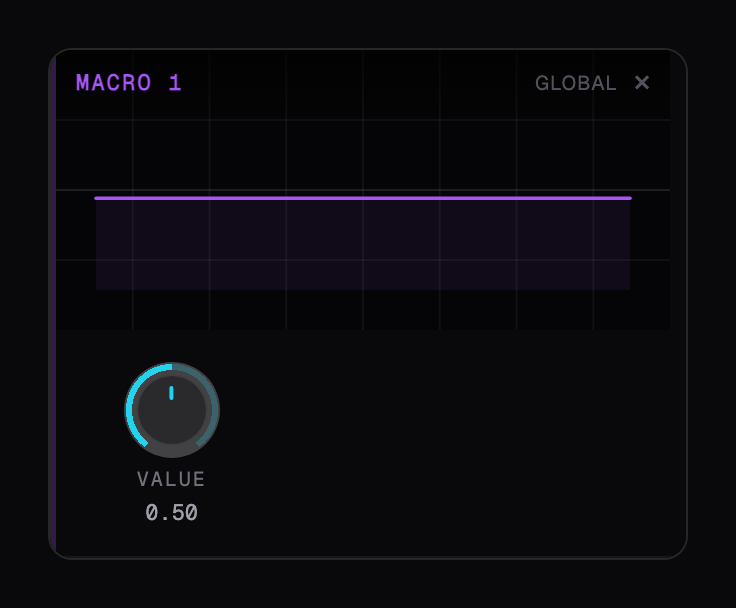
A single knob you can route to many parameters at once — perfect for a "big sound" control on your plugin.
Clock
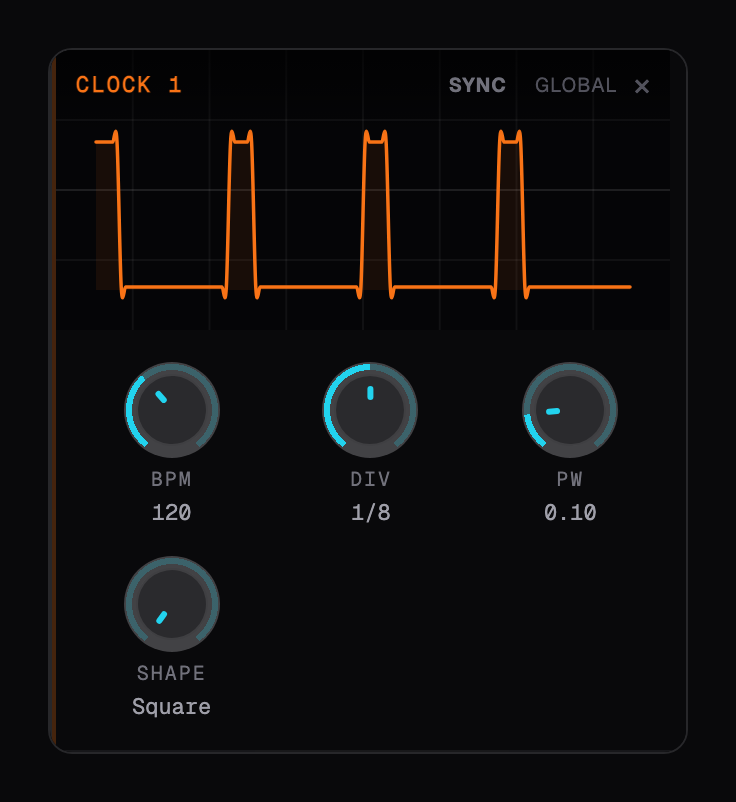
Tempo-synced pulses that follow your project BPM — great for rhythmic gating and sidechain-style pumping.
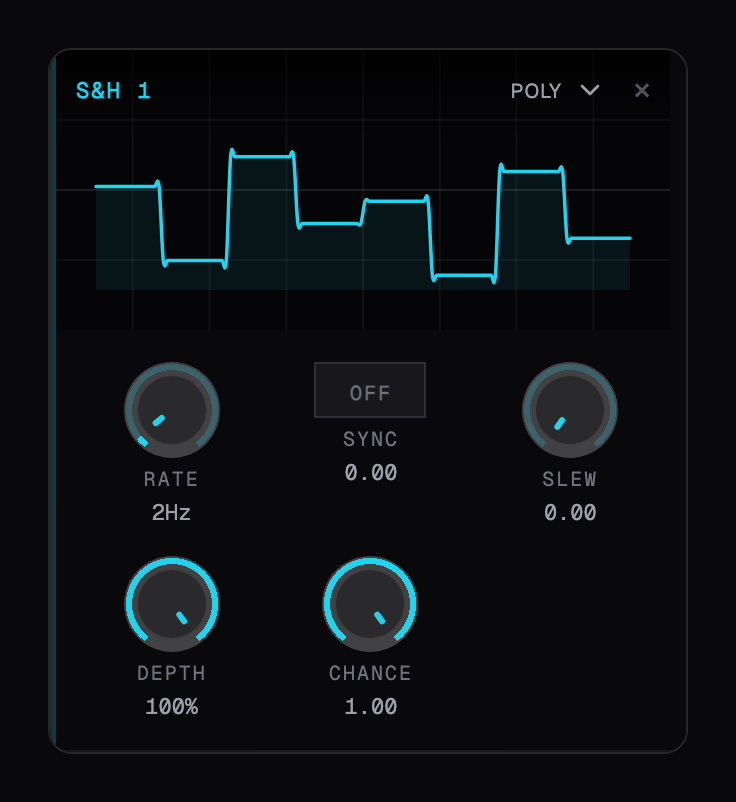
S&H
Sample-and-hold for stepped random movement. Slew smooths the steps; Chance makes the steps skip unpredictably.
Channel Count and Channel Index
These react to your playing: Channel Count tracks how many notes are held, Channel Index tells each voice which one it is — useful for unison spreads.

Env Follower
Tracks the amplitude of an audio signal and turns it into a modulation source — the block behind auto-wah, envelope-following filter sweeps, and ducking-style effects that don't need a full Sidechain In setup. Unlike the modulators above, Env Follower is a DSP block, not a Modulators-panel entry: it needs an audio signal to follow, so it's hidden from the panel's add list and instead lives on the DSP canvas like Filter or Delay — drag it in from Browse blocks, wire a signal into it, and route its output to a knob like any other modulator source. Pick Peak (fast, follows transients) or RMS (smoother, follows perceived loudness).
Assigning modulation
There are two ways to route a modulator to a parameter:
- Right-click a knob on any block. The menu lists available modulation sources — pick one to assign it. The same menu shows what's already assigned so you can remove routes.
- Drag a cable from a modulator block's output to the small modulation handles that appear along the top edge of a block while you drag.
Once assigned:
- A colored ring around the knob shows the modulation in motion, live.
- Click the ring to open the slot editor, where you set the amount (depth) and polarity — bipolar swings both ways around the knob position, unipolar pushes only up or only down.
- Each parameter has up to four modulation slots, so you can stack an LFO on top of an envelope on top of a macro.
Tip The AI assistant handles modulation too — try "add a slow LFO on the filter cutoff, subtle" and then fine-tune the amount by hand.
Bypassing and suspending blocks
Every block can be taken out of the signal path without unpatching it:
- Click the bypass button on a block to toggle a dry pass-through — audio flows around the block untouched, and the block stops using CPU.
- Right-click a block for the full menu: Active, Bypass (dry through), or Suspend (silent) — suspend mutes the block's output entirely.
A bypassed or suspended block stays on the canvas with all its settings, so it's perfect for A/B-ing an effect or parking an idea.