Building patches
Add blocks, run cables, tweak parameters, play notes, and let the AI assistant do the heavy lifting.
For anyone ready to go beyond a single oscillator.
The DSP tab is where your sound lives. Everything you patch here compiles into real audio within moments — there's no separate "run" step, so you're always hearing the current state of the graph.
Adding blocks
- In the DSP tab, click the Browse blocks button in the floating toolbar at the bottom of the canvas.
- Type in the search field to filter, or scroll the categories: sources, processing, effects, modulation, and display.
- Click a block to drop it onto the canvas.
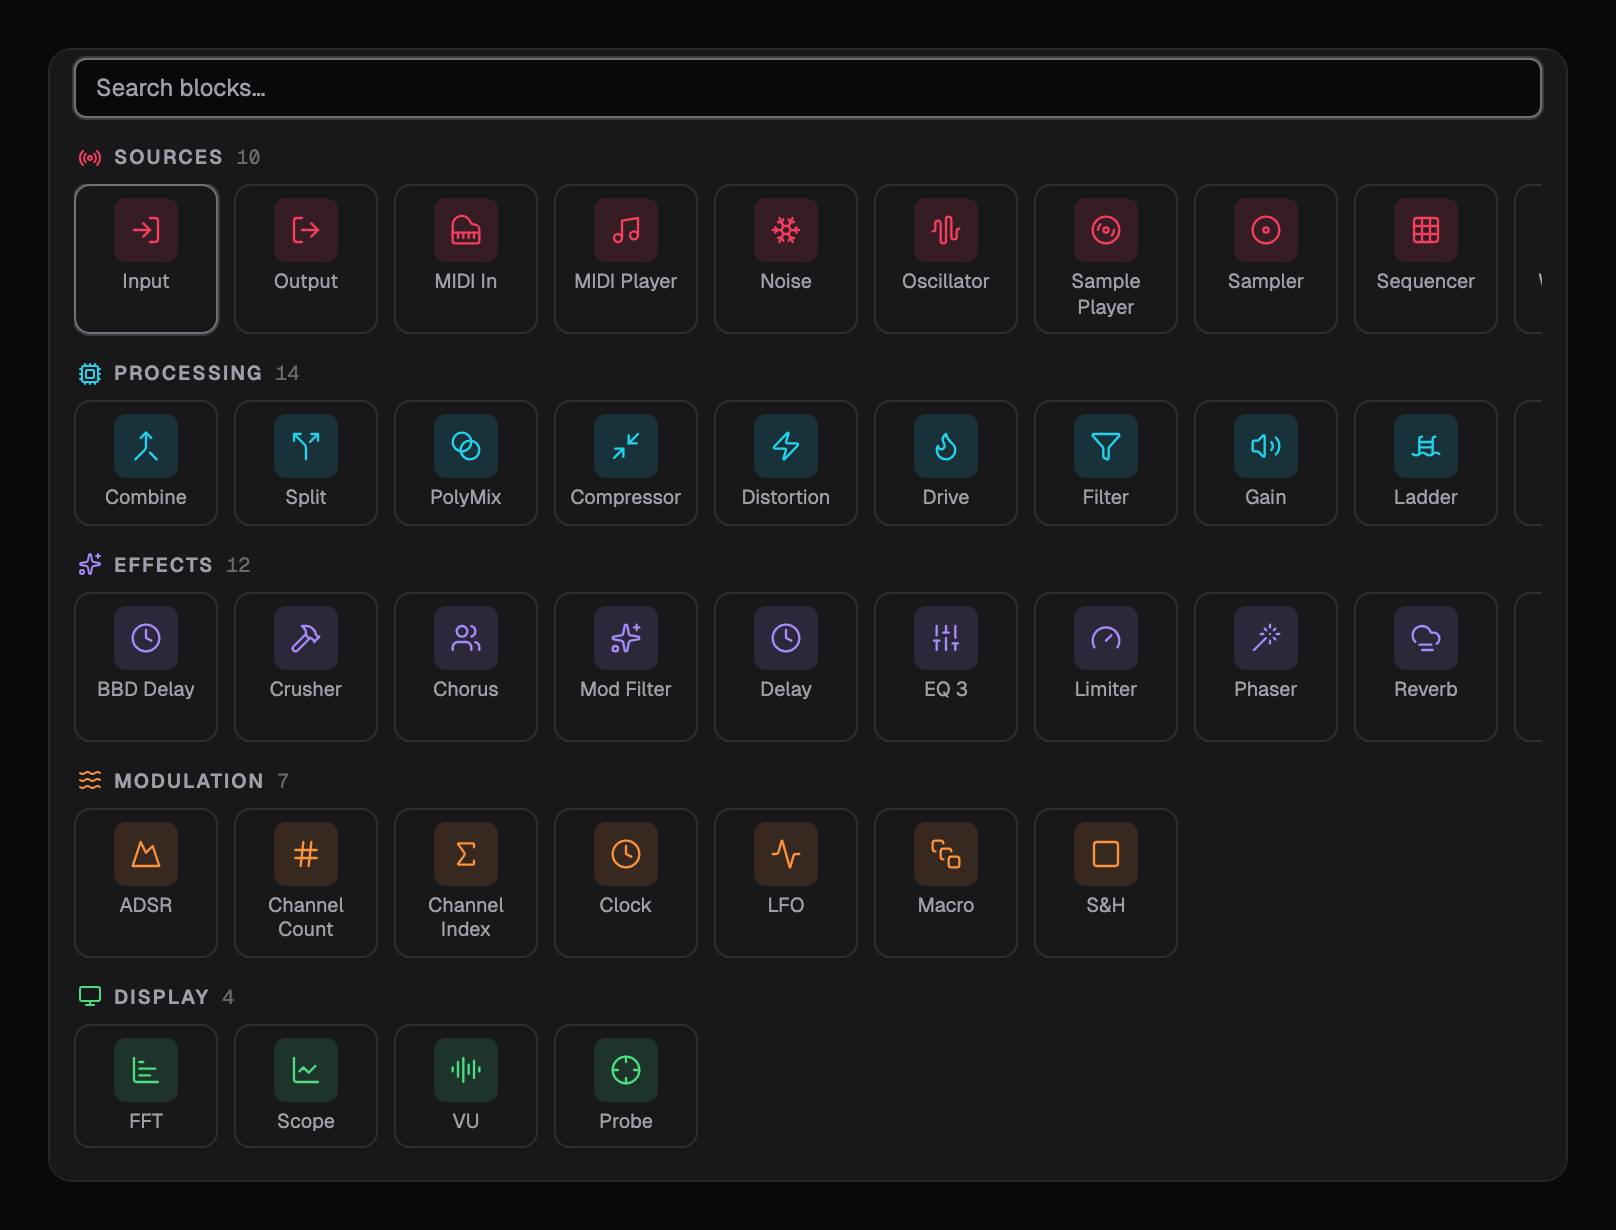
Once placed, drag blocks anywhere you like. Right-click a block for options like bypass, suspend, and delete.
Connecting cables
- Drag from an output port on one block to an input port on another to create a cable.
- Audio flows left to right: sources (oscillators, samplers) feed processors (filters, gain) which feed the Output block.
- Instruments also carry note information — blocks like the oscillator receive pitch and gate from your MIDI input automatically when patched into the voice path.
- Click a cable to select it; delete it to break the connection.
Patchwerk recompiles the graph automatically after changes. If you ever want to force it, click Compile DSP in the floating toolbar.
Tweaking parameters
- Every block shows its main controls as knobs right on the canvas. Drag a knob to change it and hear the result live.
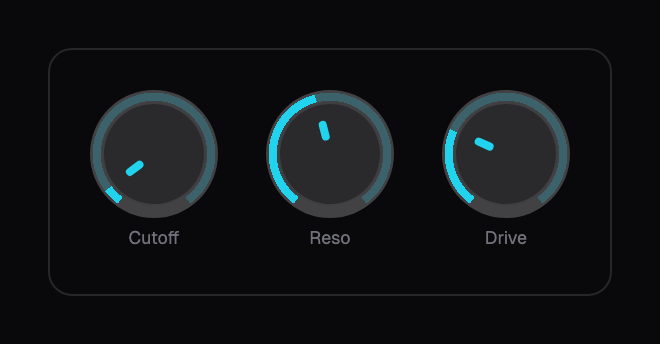
- Click the Node inspector button in the floating toolbar (or select a block) to see the full parameter list with ranges, defaults, and units.
- In the inspector, click the small circle next to a parameter to expose it. Exposed parameters are the ones your plugin will present to the outside world — and the ones you can bind to controls in the Design tab.
Tip The floating toolbar also has undo/redo (⌘Z / ⌘⇧Z), a mute toggle, and a performance popover that shows voice count, node count, and how much CPU your patch is using. Turn on Perf Mode to see a per-block CPU badge and find the expensive parts of your patch.
Polyphony and voices
Instrument patches are polyphonic: Patchwerk runs a copy of the note-driven part of your graph for each voice (8 by default), so chords just work. Blocks that don't need per-note copies — like reverbs and delays — run once, globally, after the voices are mixed.
You can see the active voice count in the performance popover. To change it, ask the AI assistant — for example, "set the voice count to 4" for a leaner patch or "make this 16-voice" for big pads.
Playing notes
You have a few ways to get MIDI into your patch:
- Click the MIDI button in the bottom bar to open the floating MIDI window with a clickable keyboard.
- The MIDI window also has helpers: an arpeggiator, a step sequencer, and a player that loops a melody — great for keeping notes running while you patch with both hands.
- There's a quick-play note button right in the bottom bar: click it to fire a single note, right-click to choose which one.
- To use a hardware controller, open Settings → Audio / MIDI and pick your device under MIDI Input.
Using the AI assistant
The chat panel in the right sidebar is wired directly into your project. It can:
- Build patches from a description — "make a warm two-oscillator pad with a slow filter sweep".
- Edit what's there — "add a chorus before the reverb", "detune the second oscillator slightly".
- Set parameters, add modulators and modulation routings, expose parameters, and change the voice count.
- Load samples and wavetables, and even create entirely new custom blocks when the built-in ones don't cover what you need.
Just describe what you want in musical terms; the assistant works on the same graph you see, so you can always inspect and adjust its work by hand afterwards.
Note AI requests use credits from your Patchwerk account. The app menu shows your balance under Usage & credits.
Saving your work
Your patch is part of the project and is saved to the project folder as you work. Use the app menu to find your project on disk (Open in Finder) or to close it and return to the home screen — recent projects are always one click away from there.